
The WebHierarchicalDataSource™ component allows you to use a variety of data sources as the data source for a data-bound control such as the WebHierarchicalDataGrid™. You can add data relations to WebHierarchicalDataSource – a powerful and flexible technique to display hierarchical data or combine different data sources.
You will learn how to display a hierarchical view in the WebHierarchicalDataGrid using the WebHierarchicalDataSource component and two SQL Data Sources.
Create an ASP.Net web page.
Drag a ScriptManager component from the toolbox onto the page.
Drag a WebHierarchicalDataGrid control from the toolbox onto the page.
Drag a WebHierarchicalDataSource component from the toolbox onto the page.
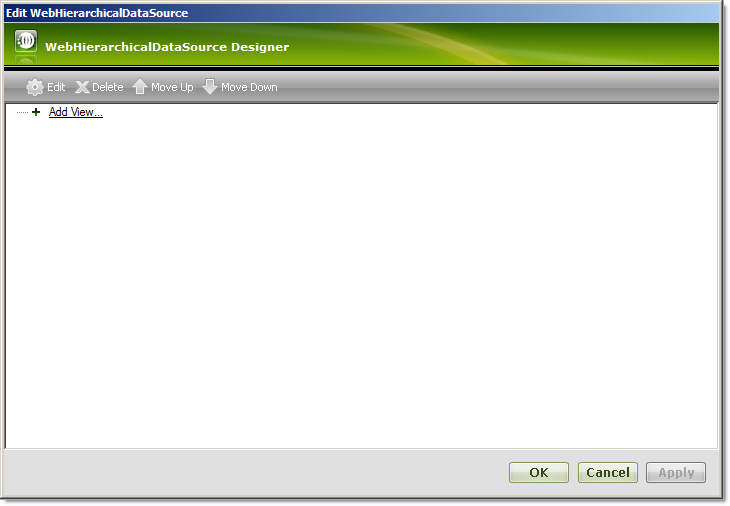
Click WebHierarchicalDataSource’s Smart Tag and select 'Configure DataSource'. The Quick Design appears.
Click the Add View option.
Select New Data Source from the drop-down list that appears.
The Data Source Configuration Wizard appears.
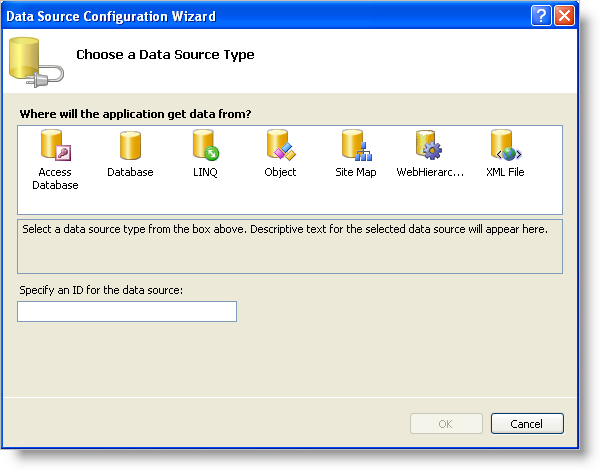
Select Database.
Click Ok.
WebHierarchicalDataSource adds a SqlDataSource component to the form and the Configure Data Source wizard appears for the SqlDataSource component.
Configure the data source to retrieve the Regions table with all columns selected from the Northwind database.
Click Ok to return to the Quick Design. You will see the SqlDataSource you just added.
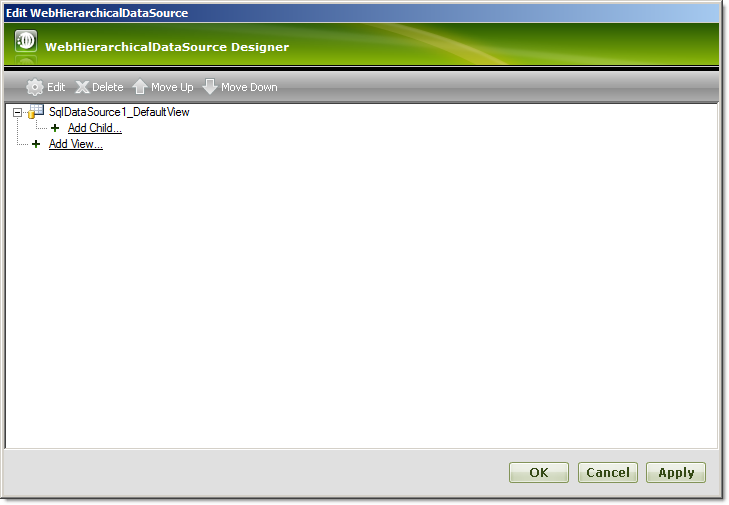
Click the Add Child node directly under the SqlDataSource1 node. The child configuration screen appears.
Select New Data Source in the Child DataSource drop-down list.
Repeat steps 8 – 12 for the second SqlDataSource, this time choosing the Territory table with all columns selected.
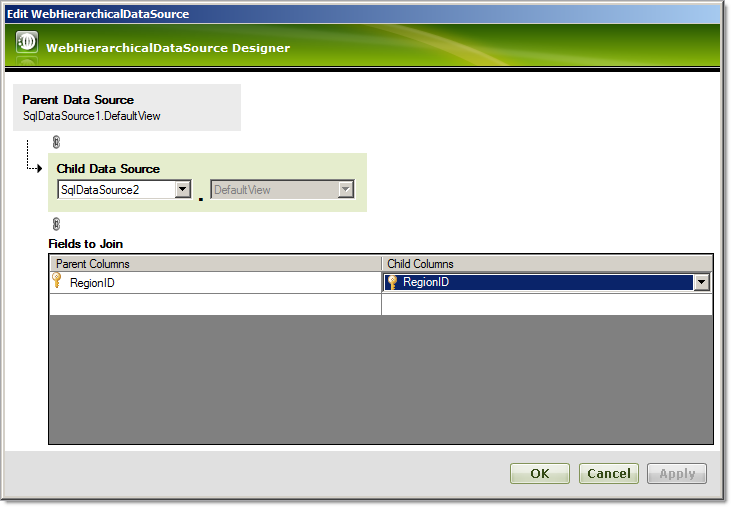
Add the relation between the two data sources by selecting the columns for the relationship.
Select RegionID in the Parent Columns drop-down list.
Select RegionID in the Child Columns drop-down list.
Click Ok to return to the Quick Design view.
At this point, WebHierarchicalDataSource is ready to use two SQL data sources to display hierarchical data. Click Apply then Ok.
In the properties window for the WebHierarchicalDataGrid, set the DataSourceId to the id of WebHierarchicalDataSource.
Run the application. The WebHierarchicalDataGrid displays a hierarchical view of the Region data with its associated Territory data for each Region.