
Ultimate UI for Windows Forms controls can be added to the designer Toolbox in the following ways. Please ensure that you have the design surface open when adding controls to your Toolbox.
Right click anywhere on the toolbox and select "Add Tab".
Type "Ultimate UI for Windows Forms 26.1" and press ENTER.
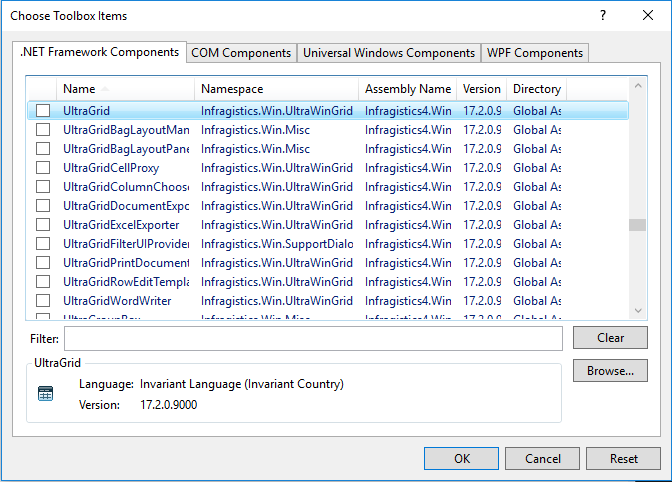
The controls can manually added using the Choose Toolbox Items dialog box.
Click the tab you wish to add to.
Right-click anywhere on the toolbox and select "Choose Items…" to open the Choose Toolbox Items dialog box.
Scroll through the list, and select the check boxes corresponding to the Ultimate UI for Windows Forms controls and components that you want to add to the toolbox.
Click OK.
Infragistics' assemblies can be copied from your install’s Bin folder and pasted right into the Microsoft® Visual Studio® Toolbox.
In Windows Explorer, navigate to the Bin directory where the Infragistics Professional assemblies are installed. The assemblies contain the DLLs that you want to add: C:\Program Files (x86)\Infragistics\2026.1\Windows Forms\Bin
Select the DLLs that contain the Infragistics Professional controls/components you want to add to the Visual Studio toolbox.
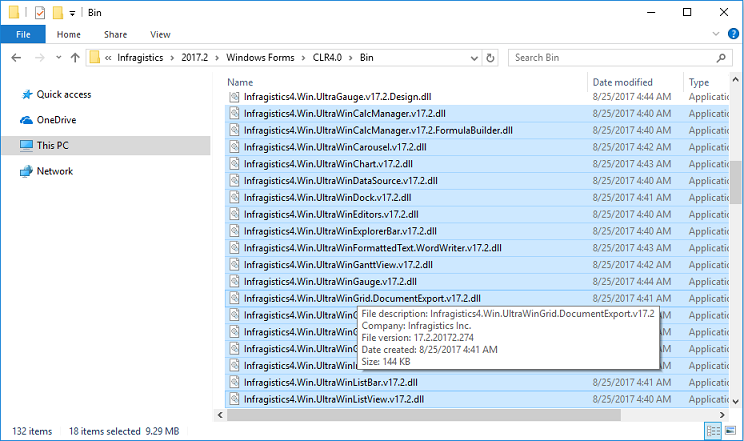
Copy (via Ctrl+c or through the right click context menu) the DLLs
Select the tab you wish to populate and paste (via Ctrl+v or through the right click context menu).