
The Style Explorer will help you do exactly what its name implies – explore default and custom styles. Through the Style Explorer, you can add, remove, and manage all of your styles – most of these actions requiring just one mouse-click.
Click the Add New button to open the StyleSet Manager (learn more about the StyleSet Manager in Creating a StyleSet). The StyleSet Manager opens with a new StyleSet already created. Click the Remove button to instantly remove the selected StyleSet from your current Style Library. Clicking Manage StyleSets will again open the StyleSet Manager Dialog Box, this time without creating a new StyleSet.
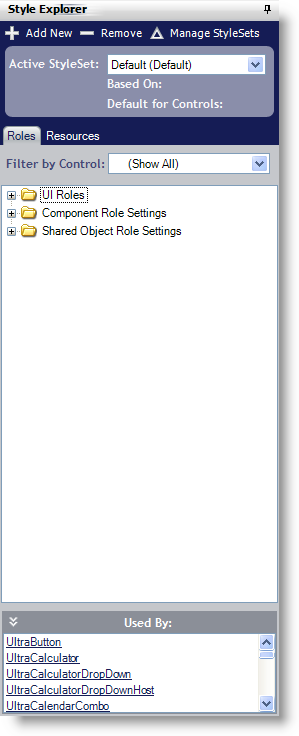
In the Style Explorer, you can also navigate through roles and manage resources:
Roles – Under the Styles tab, you will find a tree with three main nodes: UI Roles, Component Role Settings, and Shared Object Role Settings. You can filter the tree by component to display only UI Roles, Component Role Settings, and Shared Object Role Settings based on a single component. Underneath the tree is a panel containing useful information about the selected role. This information includes which role is selected and which other components use that role.
Resources – Under the Resources tab, you will find two buttons: Add New and Remove. The Add New button adds a new resource to the Style Library. You can then edit the resources appearance just like you would modify a UI Roles' style. The Remove button will delete the selected resource.