
To bind the WinTabStrip™ to a data source perform the following steps:
Add an UltraTabStripControl to a form that has a data source available.
Place child controls on its shared controls page.
Set the element’s DataSource property to the data source.
Set the element’s DataMember to the appropriate member. Notice that sample tabs get added to the element at design-time to simulate the look of the element at run-time. These tabs can not be selected or scrolled. They display the name of the column in the data source that will be used to supply the tab’s text. By default this is the first column.
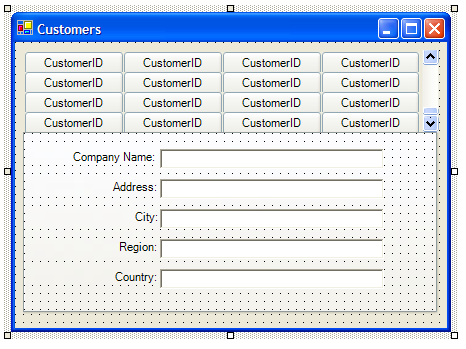
Optionally set the element’s TabKeyMember, TabTextMember and ToolTipTextMember properties. The image below shows what the element may look like at design-time.
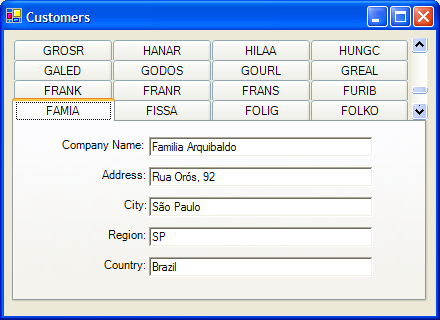
The screen shot below shows what the same element looks like at run-time. The 5 textboxes are bound to fields in the same data source. This is done using the data bindings Text property and setting it to the column you want to display. Selecting a tab will automatically position the data source to the related row which will update the textboxes with the appropriate data.
Optionally set the SortMember and SortDirection properties to cause the tabs to be automatically sorted at run-time based on the data values in the specified column.