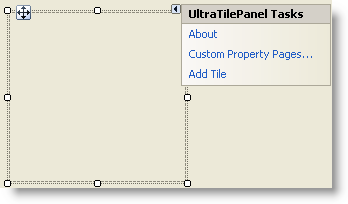

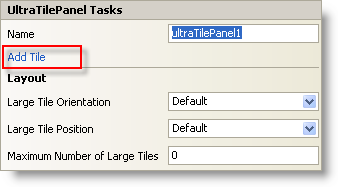
This topic shows you how tiles can be added to the WinTilePanel™ control at design time. A Tile can be added to the panel by right clicking the UltraTilePanel and activating the designer verb to add an UltraTile or through the control’s smart Tag as shown below. This adds a default UltraTile instance with no content control to the UltraTilePanel.
Alternatively, when you drop a content control directly onto the UltraTilePanel, the UltraTilePanel control recognizes that it is not an UltraTile being added and therefore automatically creates an UltraTile instance to host the content control. Thus an UltraTile is automatically created by the TilePanel without manually adding it either through the smart tag or even through code.
Thus any number of tiles can be added to the TilePanel. Once the tiles are added, content controls can be dropped onto the tiles either at design time or through code.
Removing Tiles
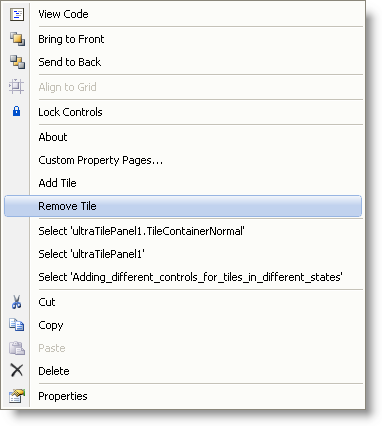
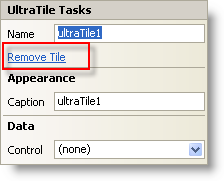
It is also possible to remove the tiles that were added through design time. A Tile can be removed from the panel by right clicking the UltraTile and activating the designer verb to remove an UltraTile or through the tile’s smart Tag as shown below.