
This section provides you with useful information about task-based procedures on working with the Axis.
The Axis is the main part of xamTimeline™ in which many elements revolve around. It contains the tick marks, labels, gridlines, and thumb, which all play a major part in the functionality of the control. There are two types of Axis: NumericTimeAxis and DateTimeAxis. Each one corresponds to their respective series type with attributes unique to that type.
The Axis is responsible for many of the behavior and style settings in xamTimeline control. Objects that you can customize through the Axis include the following:
Major and minor Tick Marks
Major and minor Grid Lines
Axis Thumb
Minimum and Maximum values for the time series
Unit of increment for the time values
Axis Pane
Axis Label
Selected time
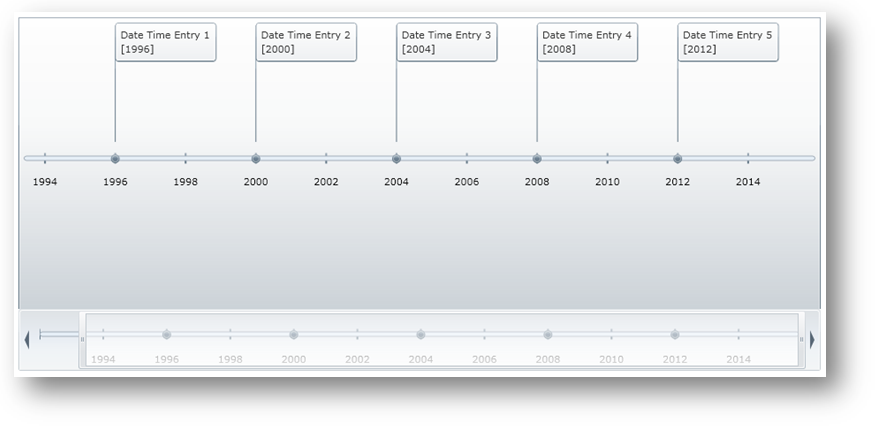
Settings for xamZoombar™
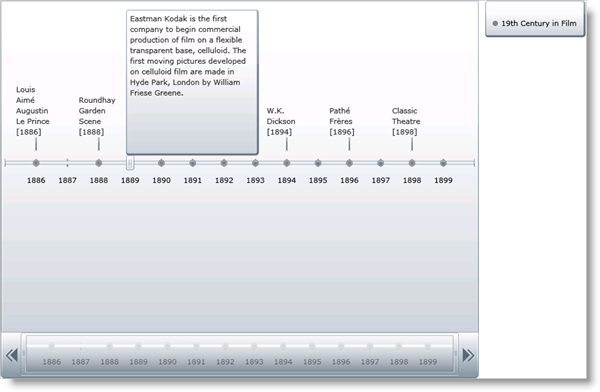
The following code shows you how to set the NumericTimeAxis object to define its own range, a unit of increment, and a selected time.
In XAML:
<ig:XamTimeline x:Name="timeline1">
   <!-- Set up numeric axis -->
   <ig:XamTimeline.Axis>
      <ig:NumericTimeAxis
         Minimum="1885"
         Maximum="1900"
         SelectedTime="1889"
         AutoRange="
         Unit="1" />
   </ig:XamTimeline.Axis>
   <ig:XamTimeline.Series>
      <ig:NumericTimeSeries Title="19th Century in Film">
         <!-- TODO: add time entries -->
      </ig:NumericTimeSeries>
   </ig:XamTimeline.Series>
</ig:XamTimeline>
In Visual Basic:
Dim axis = New NumericTimeAxis()
axis.Minimum = 1885
axis.Maximum = 1900
axis.SelectedTime = 1889
axis.AutoRange = False
axis.Unit = 1
timeline1.Axis = axis
In C#:
var axis = new NumericTimeAxis()
{
   Minimum = 1885,
   Maximum = 1900,
   SelectedTime = 1889,
   AutoRange = false,
   Unit = 1
};
timeline1.Axis = axis;