
This topic explains how to configure the light settings in the XamScatterSurface3D™ control.
The following topics are prerequisites to understanding this topic:
This topic contains the following sections:
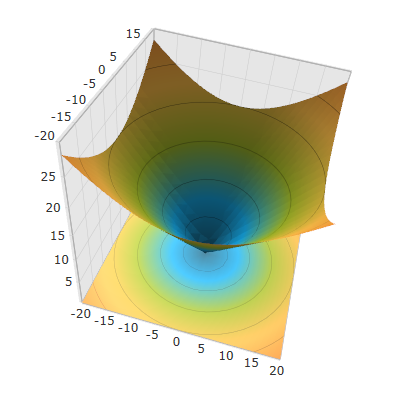
Use the XamScatterSurface3D LightDirection property to specify the direction of the light that lights up the xamScatterSurface3D control.
The following table maps the desired configuration to the property settings that manage it.
The screenshot below demonstrates how the xamScatterSurface3D control looks as a result of the following settings:
Following is the code that implements this example.
In XAML:
<ig:XamScatterSurface3D Name="SurfaceChart"
 ItemsSource="{Binding Path=DataCollection}"
 XMemberPath="X" YMemberPath="Y" ZMemberPath="Z"
 LightDirection="0 -1 0" />
In C#:
SurfaceChart.LightDirection = new System.Windows.Media.Media3D.Vector3D(0, -1, 0);In Visual Basic:
SurfaceChart.LightDirection = New System.Windows.Media.Media3D.Vector3D(0, -1, 0)Use the XamScatterSurface3D LightIntensity property to specify the light intensity in the xamScatterSurface3D control.
The following table maps the desired configuration to the property settings that manage it.
The screenshot below demonstrates how the xamScatterSurface3D control looks as a result of the following settings:
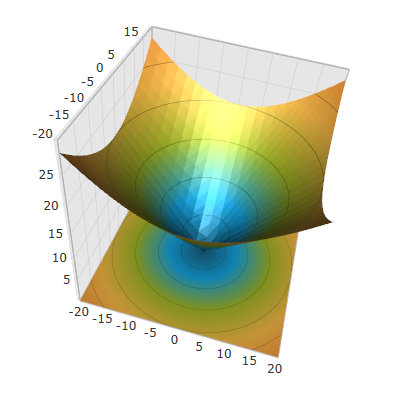
Following is the code that implements this example.
In XAML:
<ig:XamScatterSurface3D Name="SurfaceChart"
 ItemsSource="{Binding Path=DataCollection}"
 XMemberPath="X" YMemberPath="Y" ZMemberPath="Z"
 LightIntensity="0.7"/>
In C#:
…
SurfaceChart.LightIntensity = 0.7;
In Visual Basic:
…
SurfaceChart.LightIntensity = 0.7Use the XamScatterSurface3D Shininess property to specify the series shininess in the xamScatterSurface3D control.
The following table maps the desired configuration to the property settings that manage it.
The screenshot below demonstrates how the xamScatterSurface3D control looks as a result of the following settings:
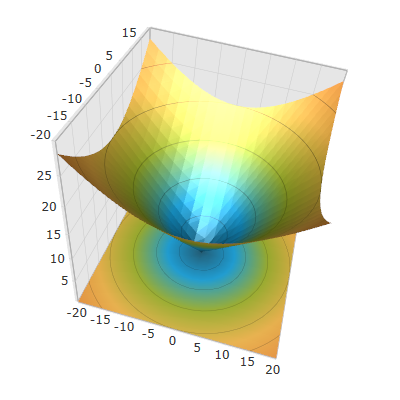
Following is the code that implements this example.
In XAML:
<ig:XamScatterSurface3D Name="SurfaceChart"
 ItemsSource="{Binding Path=DataCollection}"
 XMemberPath="X" YMemberPath="Y" ZMemberPath="Z"
 Shininess="0.9"/>
In C#:
…
SurfaceChart.Shininess = 0.9;
In Visual Basic:
…
SurfaceChart.Shininess = 0.9The following topics provide additional information related to this topic.